A practical learning format built around repeatable studio decisions
The Derlavo courses are organised like controlled studio days: you plan coverage, build a simple set, direct short sections, then review what the edit actually allows. Each module introduces a small set of decisions (frame, eye line, camera responsibility, lighting baseline) and then asks you to apply them in an exercise you can repeat.
The aim is competence and vocabulary, not performance. This platform provides educational content only. We do not provide production services, equipment rental, studio access, or career placement, and we do not promise professional outcomes. The work is methodical: shot lists, run-of-show discipline, and calm on-set communication.
What you practice, not just what you watch
Studio directing is a chain of small decisions that have to stay consistent for hours. The course design reflects that. Lessons explain the decision, show the consequence on a real set, and then ask you to run a short, repeatable drill: place a camera, write a shot list, light for separation, and give a set of cues that a guest can follow without confusion.
Shot lists and run-of-show that survive real conversation
Many shot lists fail because they are written like a still photo plan. In studio conversation, the talk moves. A useful shot list includes camera responsibilities (master vs singles), a few planned cut moments, and reset notes that protect continuity when chairs drift or hands creep into frame.
You will write and revise documents that are short enough to use on set. Each exercise ends by checking whether the plan matched what you actually captured.
Framing drills
A checklist approach to headroom, eye line, and lens choice, with quick self-checks you can do before rolling.
Lighting baseline
Key and fill control, background separation, and a stability-first approach for long interviews and panels.
On-set language practice
Exercises include short cue sheets: what you say to a guest, what you say to operators, and what you say to reset without turning the room tense. We focus on concise commands like “hold that two-shot,” “return to the host single,” and “take it from the top of the answer,” plus when not to interrupt.
Coverage roles
Master, singles, reactions, and safety. Learn how to avoid cross-shooting and eye line breaks.
Edit-minded review
You review takes to find natural cut points, continuity breaks, and where the master should have held longer.
The learning loop: plan → set → direct → review
Every course uses the same loop, but the scope expands. Foundations stay with a single interview frame and simple light control. Intermediate adds multi-camera responsibilities and practical conversation lighting. Advanced brings the complete studio workflow: timing, segment notes, pickups, and editorial intention that can be communicated clearly on set.
-
01
Plan a small, specific piece of coverage
You start with a concrete scenario: a three-minute opening question, a two-person exchange, or a short panel segment. The task is to decide which camera owns structure and which camera owns flexibility. You write a short shot list that includes lens choices, intended framing (wide, medium, tight), and the overlaps needed to avoid visible jump cuts.
The planning language stays technical and grounded: eye line, cross, cut point, hold, and reset note.
-
02
Build a controlled setup and lock the baseline
Exercises include a repeatable camera placement method: establish the master, define the axis, then place singles without cross-shooting. You also set a lighting baseline intended to remain stable. The point is not a “look” but a dependable signal: exposure stability, separation from background, and consistent color.
You record a short slate or reference clip so you can compare sessions later and see drift.
-
03
Direct short sections with clear cues
The directing work is intentionally modest: short sections that are long enough to reveal issues but short enough to repeat. You practice cues that keep the set readable: where the guest should look, how to pause between answers for cut points, when to hold a two-shot, and how to call a pickup “without apology” but also without friction.
We emphasize pacing and neutrality. In studio conversation, the director’s job is often to remove uncertainty.
-
04
Review as if you have to cut it tomorrow
Every assignment ends with a review routine. You identify: where you would cut, which angle should have been the master, where eye lines drifted, and whether the lighting baseline stayed stable. You also check continuity across answers: posture, hands, and chair position.
That review turns into the next iteration’s notes. Over time, your shot planning becomes faster and more accurate because it is fed by real footage rather than theory.
Section image guidance
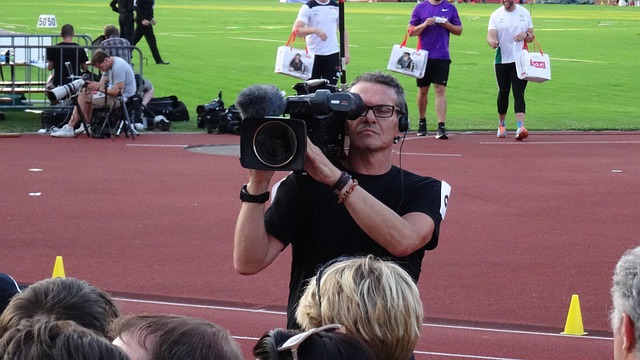
Use a photo that clearly shows shot planning near camera gear: a shot list next to a studio camera, or a camera pointed at an interview desk. The visual must be unmistakably studio/interview equipment.

A simple self-audit you can repeat
- All cameras share a baseline: white balance, exposure intent, and matching contrast.
- Eye lines are consistent and the axis is respected in singles.
- Each camera has a named job and a known “safe” hold.
- Your run-of-show includes resets and at least one safety pickup slot.
Tools used in exercises
The exercises rely on a few simple tools rather than a complex platform. You will see templates for a shot list, a run-of-show, and a cue sheet. You’ll also use a “coverage roles” worksheet to decide what each camera is responsible for. Nothing is brand-specific; you can apply it to mirrorless cameras, broadcast cameras, or a mixed setup.
When a module talks about exposure stability or matching cameras, it is in plain on-set terms: locking settings, checking white balance under actual key light, and making sure a cut does not reveal a mismatch. The goal is to reduce surprises in post.
How the three courses differ in workload
The format stays consistent across courses, but the assignments expand in scope. Foundation assignments keep you close to one camera, one interview frame, and a basic lighting decision. Intermediate assignments add the constraints that make studio work tricky: multiple angles that must cut together, guests who move their eye line, and long-form conversation that needs stable light.
The advanced course is workflow-heavy. You practice building a complete run-of-show, writing editorial intention as plain notes, and communicating decisions to a small team. The emphasis is still educational: you can simulate the workflow with a partner and a simplified setup, then review coverage and notes as if you were handing it to an editor.
No production services
This platform does not provide studio production, equipment rental, talent booking, or crew staffing. The material is designed to be practiced independently in a controlled environment with your own equipment and a simple space.
Image guidance for this section
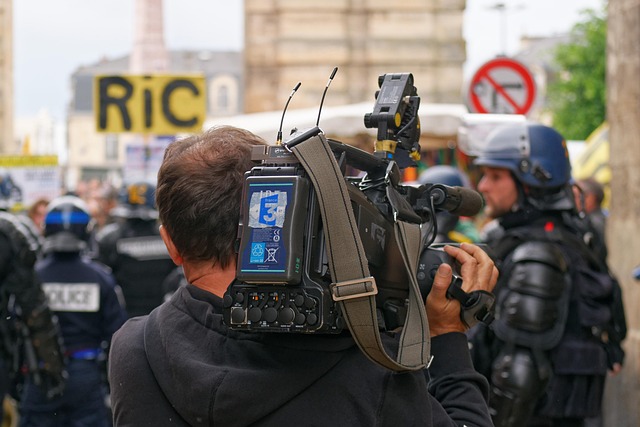
Use a close, unmistakable photo of professional video gear: a studio camera, lens, monitor, or a multi-camera studio. Avoid portraits and unrelated environments.
Pricing and duration are listed plainly on the Courses page. If you are unsure where to start, use the contact page and describe your current setup.
Choose a course that matches your current setup
If you can describe what you are trying to record (single interview, two-person table, small panel) and what cameras you have, we can point you to the most sensible starting place. We reply within 2 business days.
- Education only: no production services, rentals, or career promises.
- Technical questions welcomed: framing, lighting baseline, and coverage roles.
- Registered in the Netherlands under Fera Holding B.V.
Next step
Go to the contact page to send a question about course fit or content coverage.